I love happy accidents! This Crispy Chicken Thigh recipe is one of those! Once upon a time there was a geeky cook who set out to do A/B testing (yup, serious geek) on the best & tastiest way to cook large amounts of chicken thighs prior to pressure canning them. In doing so, this geeky cook accidentally discovered a really tasty and simple method for super Crispy Chicken Thighs with no coating & no extra ingredients.
Here’s what happened. I found a great sale on chicken thighs. Any time I can find meat for under $1.00 a pound, I try to stock up. The only way that I can store it is to pressure can it. I just don’t have the freezer space to keep a lot of meat. So pressure canning allows me to store it at room temperature for up to one (1) year.
 I bought about 25 pounds of chicken thighs and because I had so much I decided to cook it 2 different ways to see which way made the best canned chicken.
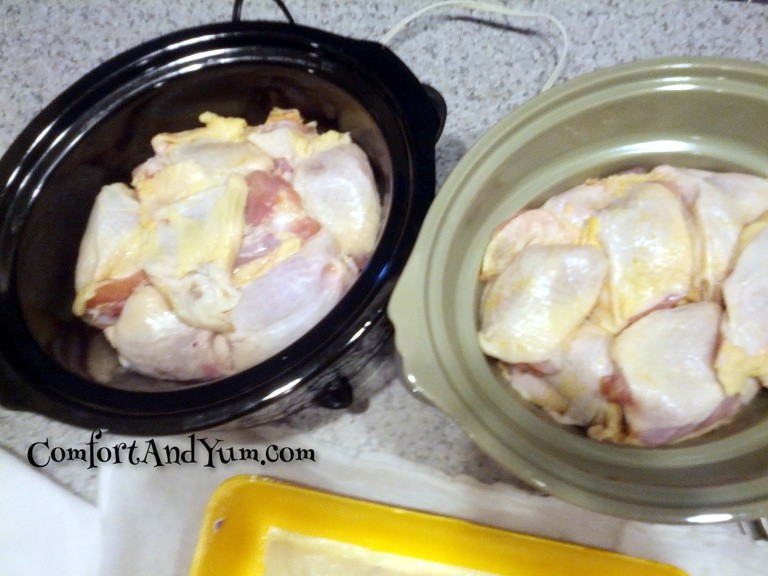
I started out using 2 packages in the crock pots – that’s the way I normally cook the meat I plan to pressure can as it falls off the bones so easily. I knew that it was going to take 7-8 hours for the thighs to cook in the crock pots.
 Since I had 2 packages left, I wanted to bake the rest of the thighs.
I like to use the Reynolds non-stick aluminum foil on my baking pans. Then I don’t have to use any cooking oils when I bake meats.
I preheated the oven to 425 degrees. I wanted the meat cooked fast and I wanted to be able to pull off the skins and debone easily.
I only added a bit of salt and pepper to both sides of the chicken thighs. Since I was planning to pressure can the meat, I didn’t want to add anything that would influence the flavor of the meat. That way the meat would be perfect for any type of recipe and any flavor profile.
I started out baking the thighs for 30 minutes then I removed them from the oven and drained off the grease. I put them back in for another 10 minutes or so. I wanted crispy skins!
Once the thighs were out of the oven, I just placed them on absorbent paper towels. The chicken skins were wonderfully crisp and tasty!
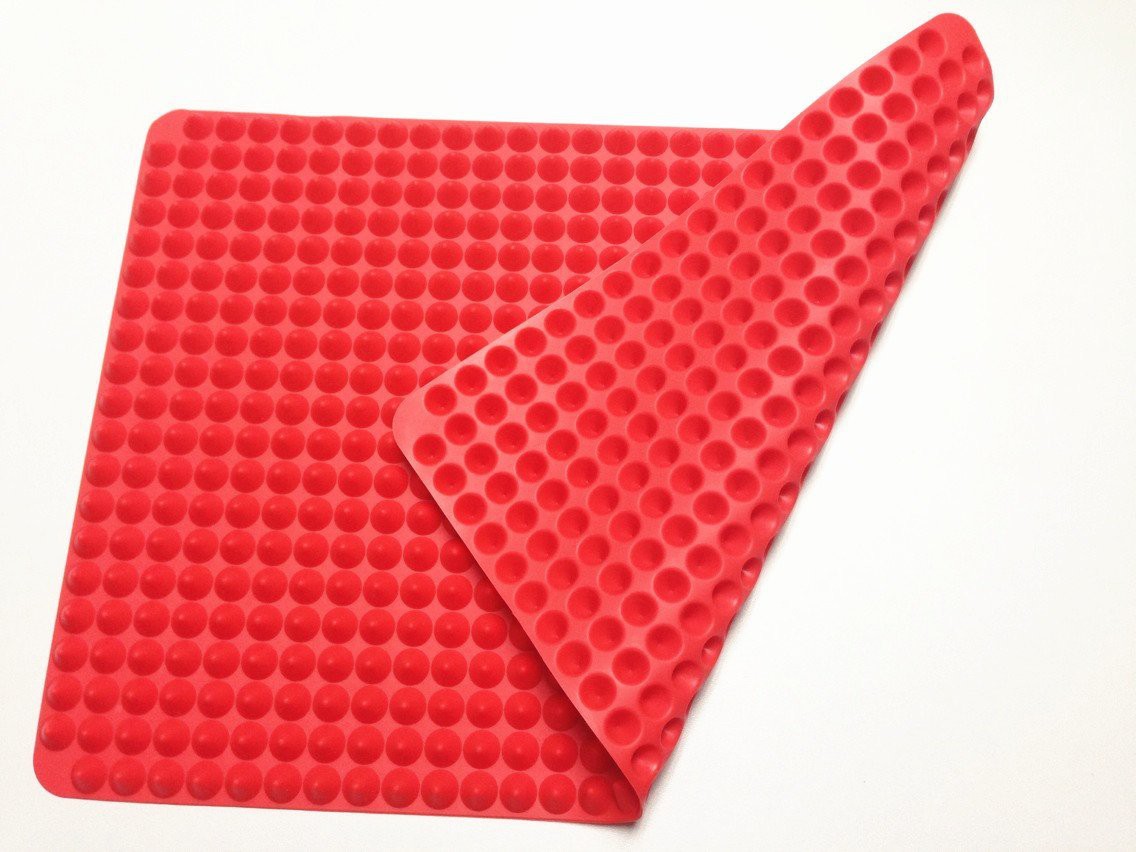
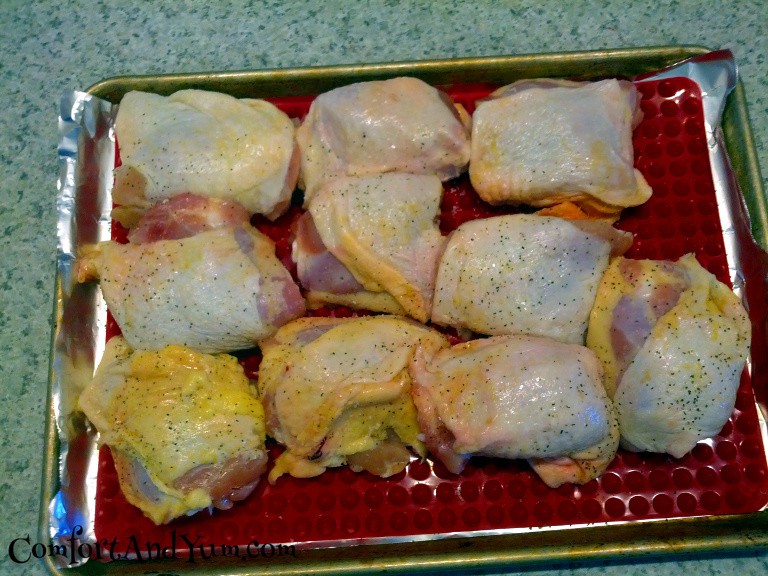
Since I had set aside 2 large packages of thighs to bake, I decided to try out my new silicon baking mat. It raises the meat up onto little cones so the meat is off the bottom of the pan. It’s supposed to prevent the meat from being as greasy.
I cooked the thighs on the silicon baking mat for the same amount of time: 30-40 minutes at 425 degrees. The chicken thighs came out as crispy but didn’t reduce the amount of baking time, which is what I was hoping for.
The deciding factor on whether or not I’d use this type of silicon mat EVER again was how much of a pain in the patootie the darned thing was to clean. In fact, it was such a pain to wash that I never managed to get all the grease and goo off. I chucked the blasted thing into the trash — problem solved! It was shack-nasty. [shudder] I tried the dishwasher, hand-washing and using a degreaser. Nothing worked … those cones made it impossible to get all the residue off. And don’t even talk to me about the nasty that I couldn’t get out of the INSIDE of those cones. Major design FAIL there if you ask me.
Just sayin’ — use one at your own risk. I get skeeved out just thinking about those things.
Back to the A/B testing. I never got to the pressure canning part of the testing because I loved the way the baked chicken turned out. So much so that I turned off the crockpots and transferred the thighs to the oven and finished baking them instead.
Doing so saved me a lot of time as I would have needed 2 crockpots running 7-8 hours and then the second batch would have needed another 7-8 hours. Baking them was soooooooooooo much faster!
Needless to say, I found a new and simple recipe for a quick and easy week night meal as well as a quicker way to cook up large batches of chicken thighs in preparation for pressure canning.
In case anyone is curious, except for the 3 chicken thighs we had for dinner that night, all of the 24-25 pounds of chicken thighs were used for pressure canning. The meat was deboned by hand and the bones were used to make chicken stock, which was in turn pressure canned. The crispy chicken skins were used to make cracklins and eaten as snacks! 24-25 pounds of chicken thighs (cost: less than $24) netted us:
- 13 pints of canned chicken dark meat
- 12 quarts of chicken broth
- 3-4 cups of prepared chicken salad (from the stock pot of broth, I was able to pick out about 3-4 cups of chicken meat that fell off the bones then I used that to make some chicken salad)
- Large gallon ziplock baggie of crispy chicken skin snacks
Not bad!
- 1 package chicken thighs
- salt and pepper to taste
- Preheat oven to 425 degrees
- Lay non-stick aluminum foil on a baking sheet
- Sprinkle both sides of thighs with salt and pepper
- Bake for 30 minutes
- Take out of the oven and drain grease
- Put back into the oven as necessary to crisp up the skin further — the chicken may need another 10-15 minutes. This depends on how many thighs are being baked at one time.
- Lay out on absorbent paper towels to soak up any remaining grease




Leave a Reply