Butter prices here on the East Coast seem to be coming down again. Enough so that it’s time to make up another batch of clarified butter. I love to cook with butter. Everything tastes better with butter (or bacon, but that’s a story for another day). I fry, saute and pan sear with butter too. I can do that without setting my kitchen on fire because I take my grocery store butter and I turn it into clarified butter.
What is clarified butter and why do I dance the happy dance when butter goes on sale?? Well, I’ll tell ya!
Clarified butter is great for a number of reasons. No matter if it’s stored in the fridge or a cupboard, it spreads on bread like … well, like butter. No hard blocks from the fridge that have to be left out forever before it softens enough to spread nicely. No more toast with craters from trying to spread butter … you know what I mean, I know you do. Your toast is hot and ready and the butter is hard as a rock and you try to force it to spread — yeah, like that pressure is going to help that brick of butter to melt faster … nope, I’ve never done that either.
Whether or not “they” tell you it can’t be done, you can store clarified butter at room temperature for months. It’s never lasted me long enough to see if it will last years, but it will definitely last for months with no change in texture or flavor. It’s up to you to decide if doing so is right for you. Because I can store it at room temperature, I can buy butter when it goes on sale, make 4 to 8 pounds of clarified butter at one time and open it as I need it. If I leave it as it came from the grocery store, I’d have to freeze it or make a place for it in my fridge … and I just don’t have the room.
The best reason yet to make clarified butter is that you can use it to fry with at high temperatures. Store-bought butter contains water (yup, 16%-18% water) and milk solids (1%-2%). Butters’ smoke point is between 250 and 300 degrees.
Soooooo, what is clarified butters’ smoke point? A whopping 480 degrees! The only thing with a higher smoke point than clarified butter is safflower oil. Pomace olive oil comes in pretty close at 460 degrees. So you can definitely see why sauteing or pan searing with clarified butter would be awesome but can’t be done with regular butter.
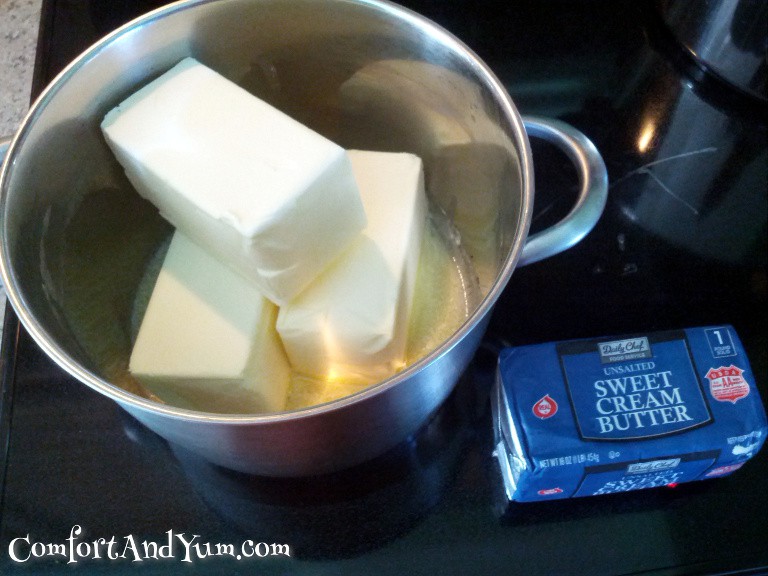
So take as much butter as you are comfortable with and put it into a large stock pot. If you are just making enough for a single jar, you can take 2 sticks of butter (1 cup) and you’ll end up with about 3/4 of a cup of clarified butter or ghee when you are finished.
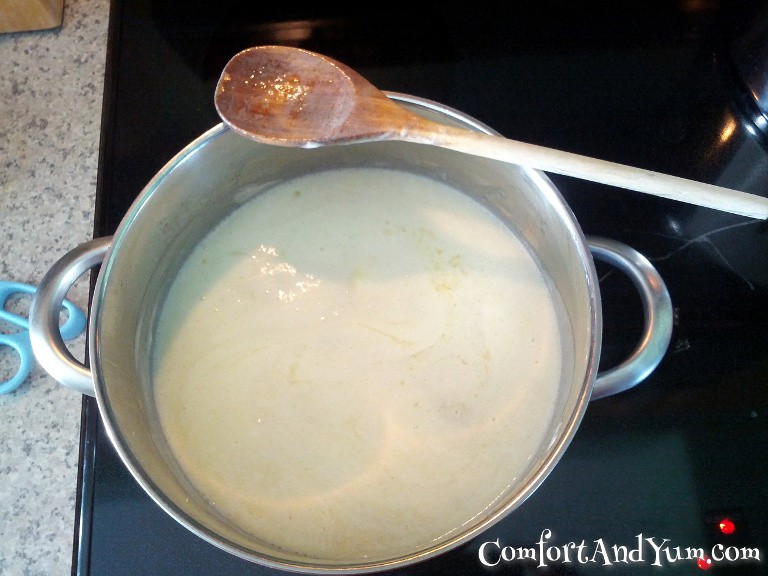 You’ll notice that a white foam will start floating on the top of your melted butter. Keep stirring … making clarified butter is not the time to go watch TV, check your email or play a game. You will want to monitor this process and stay in the kitchen until it’s done. It can go from yummy to burnt in a matter of minutes so you don’t want to leave the pot unattended.
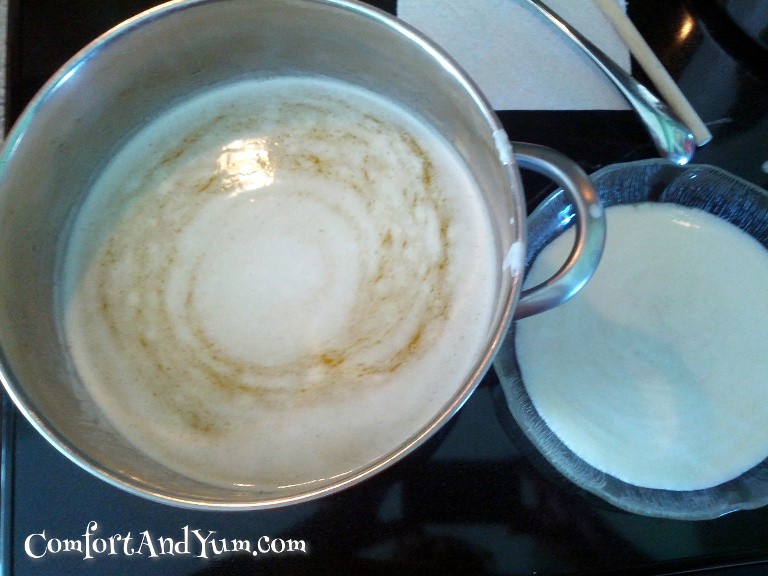
You’ll want to start skimming off the solids that are forming on the top of your butter into a dish or bowl. Don’t throw those butter solids away, they can be used for a variety of things: basting meats and veggies in the oven or on the grill, add to mashed potatoes or spread over hot rolls or cornbread, etc. Whatever you don’t skim off will eventually fall to the bottom of the pot, so scoop out as much as you can.
At the point where a lot of skimming is going on, you’ll notice that the butter is making a popping or sizzling noise. It’s almost like rice krispies in milk or soda with a lot of fizz. This is also a good thing. Remember that 16%-18% water? Well, that sizzling is the sound of that water being cooked off!
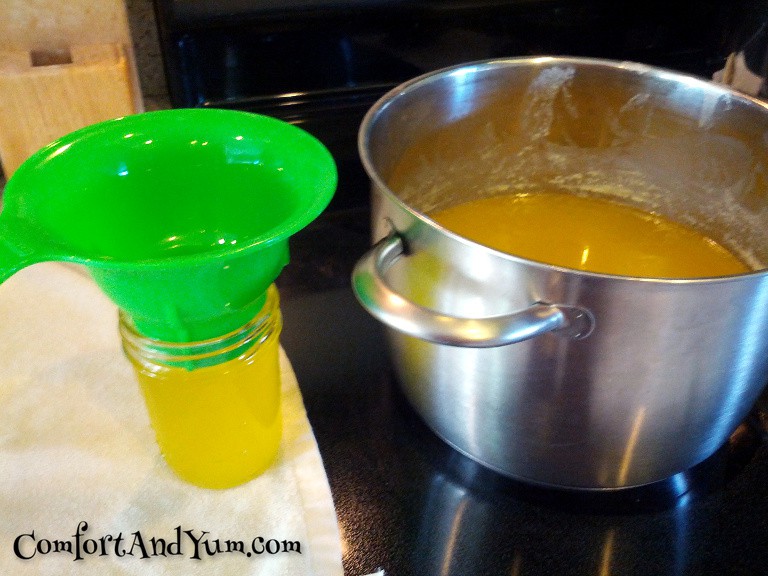
When you get to the point where most of the foam has been skimmed off, you are just waiting for the water to finish cooking off. Any solids not scooped off have now fallen to the bottom of the pot. When the bubbles go completely away and your pot of butter is bright sunny yellow, you have clarified butter.
Now is when you want to decide if you are happy with clarified butter or if you want to go ahead and make ghee. The difference between clarified butter and ghee is that the milk solids that are on the bottom of the pot will start to brown and caramelize if you continue to cook the clarified butter.
Ghee is basically clarified butter where the solids have been allowed to caramelize. If you decide to continue on and make ghee, you want the butter to become a beautiful burnished gold.
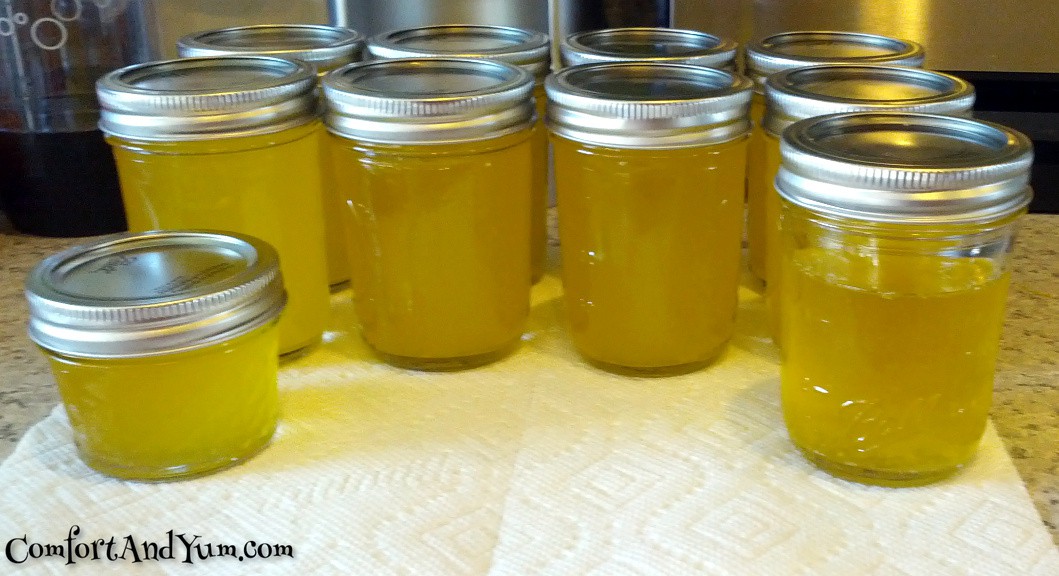
For both clarified butter and ghee, you will want to first ladel out your liquid gold into jars being careful not to scrape the bottom of the pot. Then as you get closer to the bottom, you can use cheesecloth or flour-sack to strain the remaining butter into jars.
- 4-8 pounds of butter (or however much you want to make)
- Cheesecloth or flour-sacking
- Ladle
- Mason canning jars
- Unwrap the butter and cut each stick into slices if desired and place in a large stockpot. Heat the butter over low heat until completely melted.
- Simmer the butter over low heat, do not stir the butter. As the butter foams & sizzles, skim the foam from the surface until all the foam is gone.
- Don’t throw out the foam, it can be used to baste meats & vegetables on the grill or in the oven, stirred into sauce, tossed with pasta, etc.
- Once the foam dissipates (time will vary depending on quality and quantity of butter) and the butter will start sizzling,
- Once very small, clear bubbles start forming on the surface of the butter, it’s a sign that you are almost done.
- Using a ladle, pour clarified butter into mason jars being careful not to disturb the milk solids that have fallen to the bottom of the pot.
- When using a ladle is no longer possible, pour the butter through cheesecloth or flour-sacking which will make sure the solids stay out of the jars.
- Use lids and rings to seal up hot jars. Leave on the counter until clarified butter has cooled.
- Store in a cool, dark area until ready to use.
- The clarified butter will keep for months if stored in a cool, storage area

Don’t you have to pressure can this stuff or you get botulism?
Diana, hi! The sources I’ve found suggest that ghee can be stored, unopened, in a cool, dark, not-necessarily-refrigerated place for 9 months. Once opened, a jar can be kept on your counter top for 3 months. Beyond that, the open jar can be stored in the refrigerator for up to 1 year. Every source I’ve read states that the jars used need to be sterilized – that’s just good canning/preservation practice. If you are concerned about safety, I recommend that you make your ghee in small batches (1-2 lbs butter minus approx 25% reduction after cooking = 3/4 to 1-1/2 lbs. ghee), which should be enough for a couple of weeks or a month, and store it in the refrigerator. Storing your homemade ghee in the fridge won’t hurt the flavor and it will preserve your peace of mind.
Diane,
You can’t pressure can butter safely. If you are worried about the safety of the clarified butter/ghee — store it in the fridge or only make a pound at a time and then make it more often when your supply is running low.
So what if you have 10 or 15 lb of butter that you want to turn into ghee. Who can eat that amount of ghee and six to nine months sitting on a shelf in a cool dark place? How can you actually preserve ghee for long-term storage such as 5 years as an example?
Dont remove the foam, let it sink to the bottom. It will roast and create the Carmel flavor of true ghee. What you are making is clarified butter.